Performance testing tools provide invaluable support for developers, allowing them to assess the performance and scalability of applications under increasing loads. However, it’s worth noting that not all functionalities are available in every tool, especially in open-source solutions.
Custom solutions are often required when working with new or less popular tools. In such situations, extensions play a crucial role by enabling developers to add custom features to performance testing tools. They empower developers to enhance the potential of the tools and tailor them to specific project requirements, whether it involves simulating real-world loads, integrating with other tools, or monitoring additional metrics.
Extensions thus serve as a key element that bridges the available functionalities of tools with the unique needs of projects.
xk6
In k6, a powerful performance testing tool, there’s an opportunity to create custom extensions through a tool called xk6. It allows developers to develop extensions and plugins that can significantly expand the capabilities of k6. This flexibility enables the developer community to easily create custom tools that meet the specific testing project requirements. Some of the available extensions can be found in the k6 documentation.
Installing the tool is straightforward and looks like this:
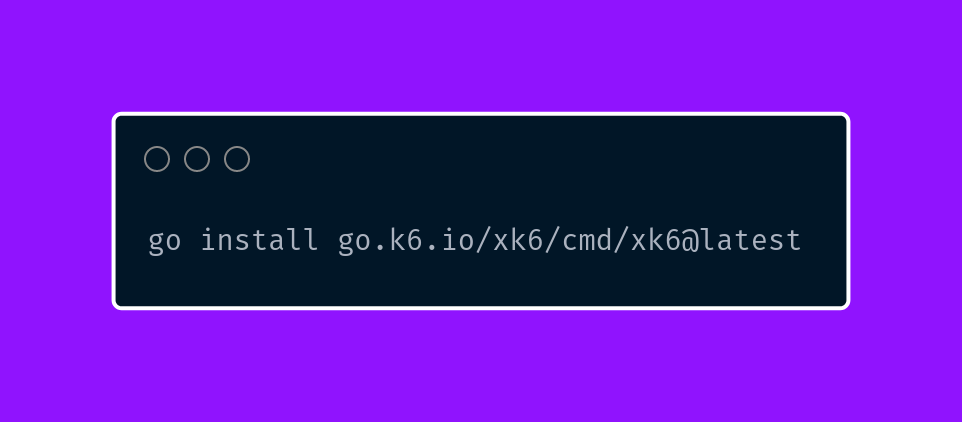
After successful installation, we are ready to use xk6. However, before we proceed with that, let’s start by writing our first extension.
Implementing the first extension
To begin, let’s choose the functionality we want to cover. We’ll focus on covering the SMTP protocol. SMTP (Simple Mail Transfer Protocol) is a communication protocol for sending email messages between mail servers. It’s a standard protocol used to send emails from one mail server to another over the internet.
The next step is to write a simple template that we will then expand with additional parts.
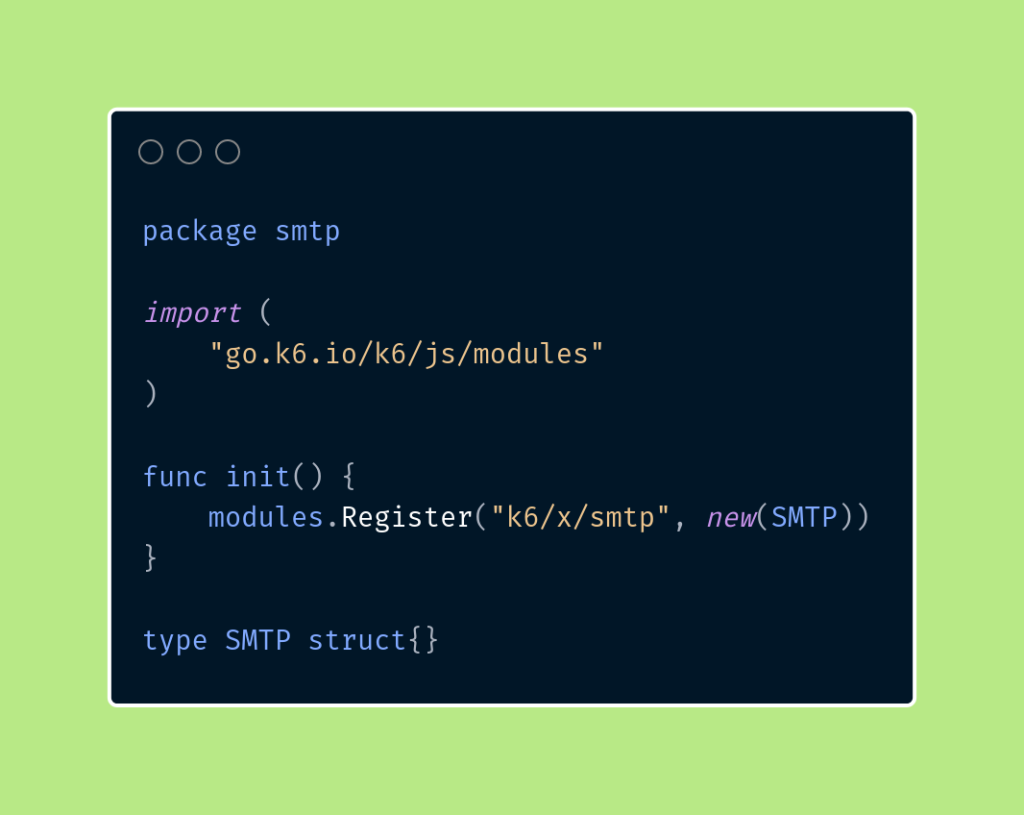
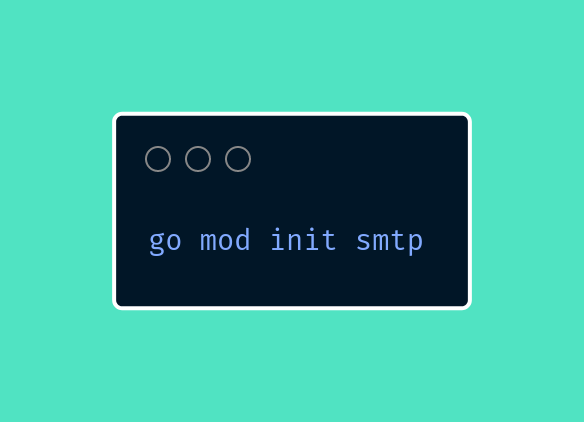
The script registers a module named “k6/x/smtp” using the modules.Register function. This registration allows the module to be used later in test scripts written in JavaScript. The next step is to initialize the GO module. We’ll use the following command for that.
Let’s assume we want to define a single function in the test responsible for both authentication and sending an email. Based on the available smtp documentation, let’s implement the functionality to use it as an extension.
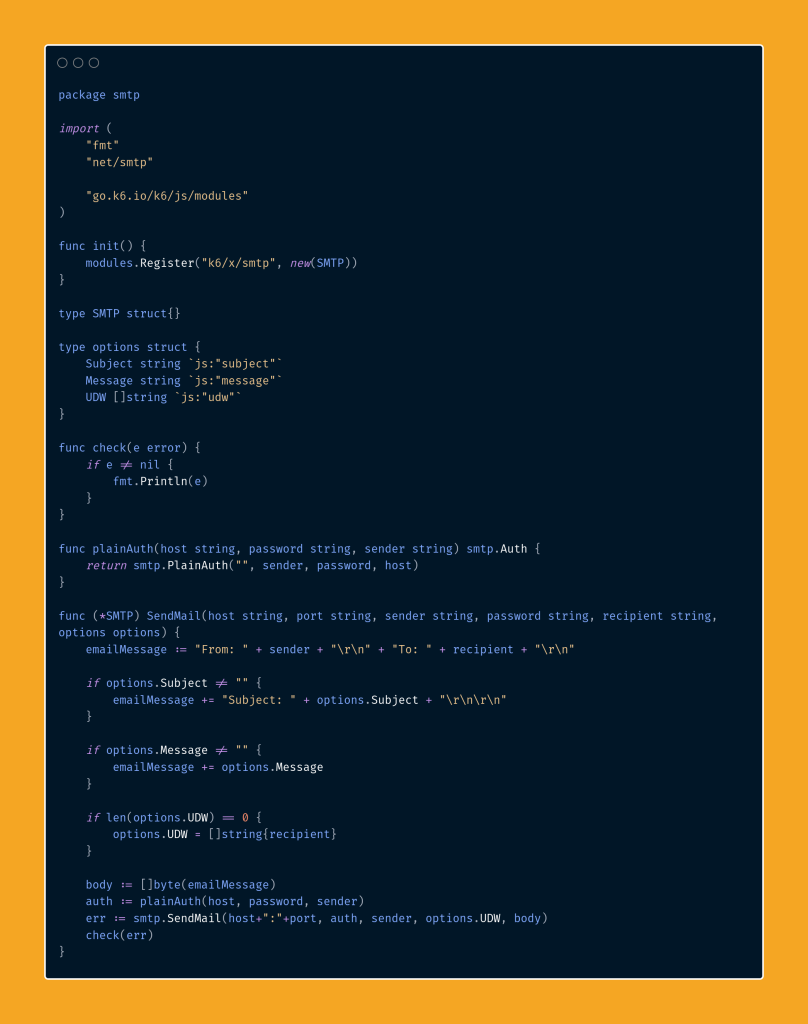
In the implemented logic, the following elements are included:
- The options structure – a structure named options are defined, containing fields: Subject, Message, and UDW. These are optional parameters that can be passed when sending an email.
- The plainAuth function – a helper function that creates an smtp.Auth object using PlainAuth authentication. This authentication requires specifying the host, password, and sender.
- The SendMail function – the primary function that performs email sending. It takes parameters such as host, port, sender, password, recipient, and options (options structure). Based on these parameters, an email message is created and sent using smtp.SendMail.
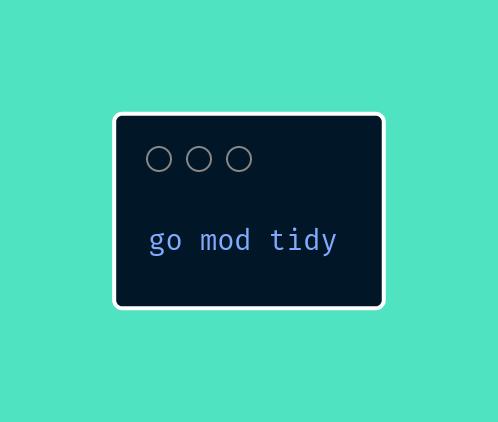
“Go mod tidy” is a command that synchronizes the go.mod file with the dependencies used in our code. Let’s apply it to synchronize our project.
Building the scenario
We can build k6 binary packages using xk6 on the local system or within Docker. The latter approach is more stable as it mitigates the possibility of errors stemming from the specific system or distribution. However, building an image is necessary for this. You can find an example of it in my repository.
Let’s proceed with building the image locally.
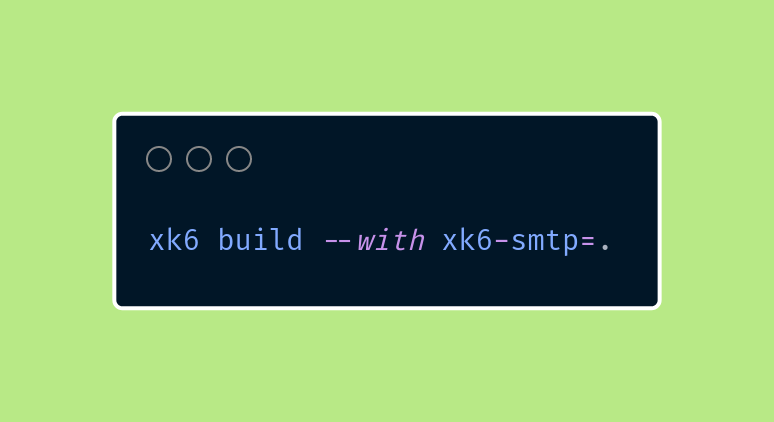
This will create a binary file named k6. The example script that we can run using the extension looks as follows.
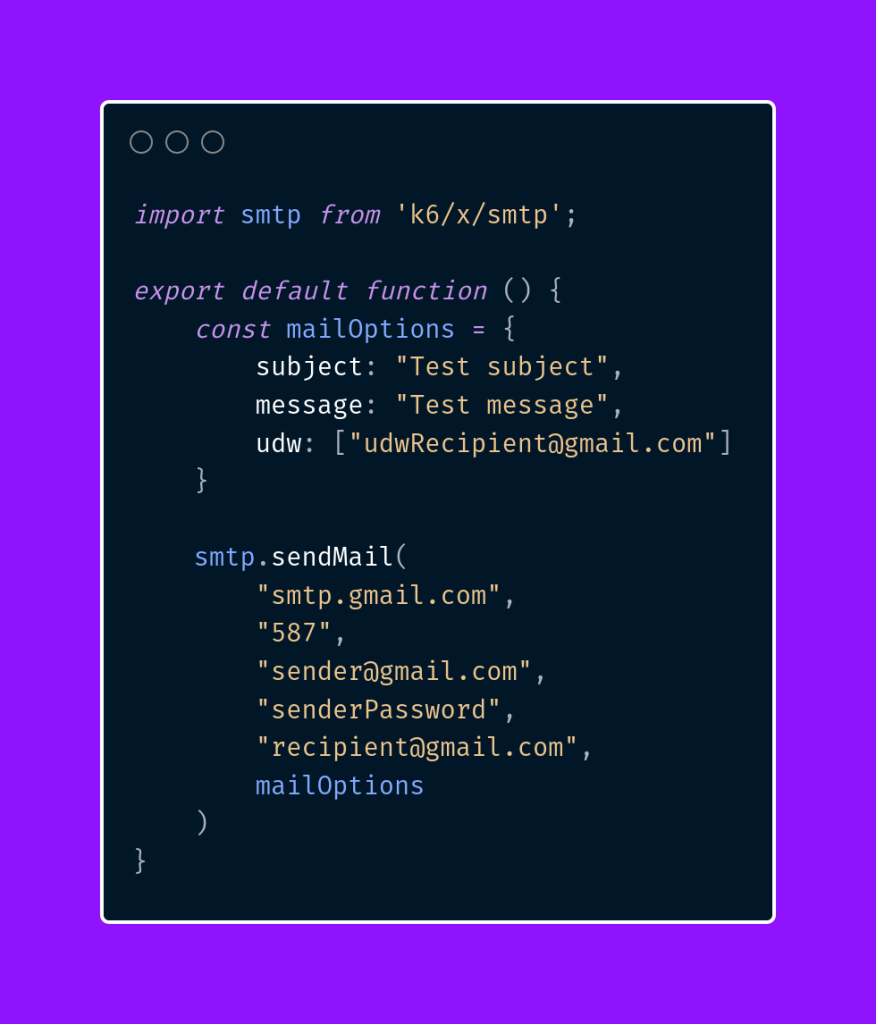
In this way, we can utilize the library within test scenarios by running k6 using the binary file instead of a system command
Summary
In today’s eighth part of the series, we delved into the topic of extensions in k6 and understood their significant role in enhancing this tool’s functionality. We learned the definition of extensions as custom add-ons that allow developers to tailor k6 to the specific needs of a project.
Throughout the article, we constructed our own k6 extension from scratch, which helped us understand how to implement custom features step by step within this tool. Through practical examples, we had the opportunity to witness the flexibility and adaptability of k6 through the capabilities of extensions.
This also marks the final article in the “Performance Under Control with k6” series, where we conclude our journey of exploring k6 from the ground up. I want to express sincere gratitude to all those who persevered and followed our series from the first article. I hope you gained insights into the possibilities and potential that k6 offers and acquired valuable skills necessary for effective performance testing of applications.
***
If you haven’t had a chance to read the articles in the series yet, you can find them here:
- Performance under control with k6 – introduction
- Performance under control with k6 – recording, parametrization, and running the first test scenario
- Performance under control with k6 – metrics, quality thresholds, tagging
- Performance under control with k6 – additional configurations types of scenario models and executors
- Performance under control with k6 – framework initialization
- Performance under control with k6 – best practices, test suite creation, and configuration
- Performance under control with k6 – Docker and integration with InfluxDB and Grafana
In addition, I encourage you to check out the project’s repository and repository for previous parts.


Leave a comment