Properly structuring and planning the framework’s architecture is a crucial step in designing larger projects. As our application becomes more complex and grows in size, it’s important for its foundations to be well laid out. A well-organized structure will allow for smoother development, maintenance, and scalability of our project.
Another significant aspect that we will address in our series of articles on k6 is automation. Manual code verification and testing in a larger project can be time-consuming and error-prone. Therefore, we will employ tools that enable us to automate testing and verification of our code.
Node? Go?
NPM (Node Package Manager) is a tool used to manage packages and libraries in the JavaScript environment of Node.js. It is one of the key components of the Node.js ecosystem, enabling developers to easily download, install, update, and remove packages, as well as manage their dependencies.
In previous parts, I mentioned that k6 utilizes the Go language under the hood, meaning it is not built on Node.js. This has certain consequences, as some Node.js APIs, such as fs or os modules, won’t work in k6. Similarly, browser APIs are also not available. Thus, using Node.js in the context of k6 might have limitations.
However, we must clearly distinguish between two parts of our framework – the functionalities of k6 itself and its structure. Functionalities like making HTTP requests or data operations are effectively executed in Go under the hood. To supplement any gaps in these functionalities, we have the option to create extensions, which we will focus on in the upcoming parts.
On the other hand, the framework’s structure is independent of the Go language. We can use any tool that allows us to structure, automate, and simplify our project effectively. Choosing the npm package manager was a natural choice for me, as test scripts are written in JavaScript, and npm is one of the most popular and trusted tools used by engineers for functional test automation.
Nevertheless, in practice, we can use any tool that meets the requirements described in the later parts of this article and allows us to develop our framework efficiently.
Project Initialization
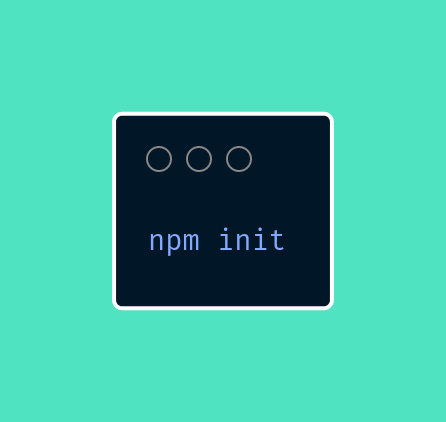
We’ve discussed what Node is and the reasons behind my choice of Go for building the testing framework. Let’s move on to initializing the initial project. This is done by executing the command:
After entering project information such as its name or description, a package.json file will be created. Its contents look as follows:
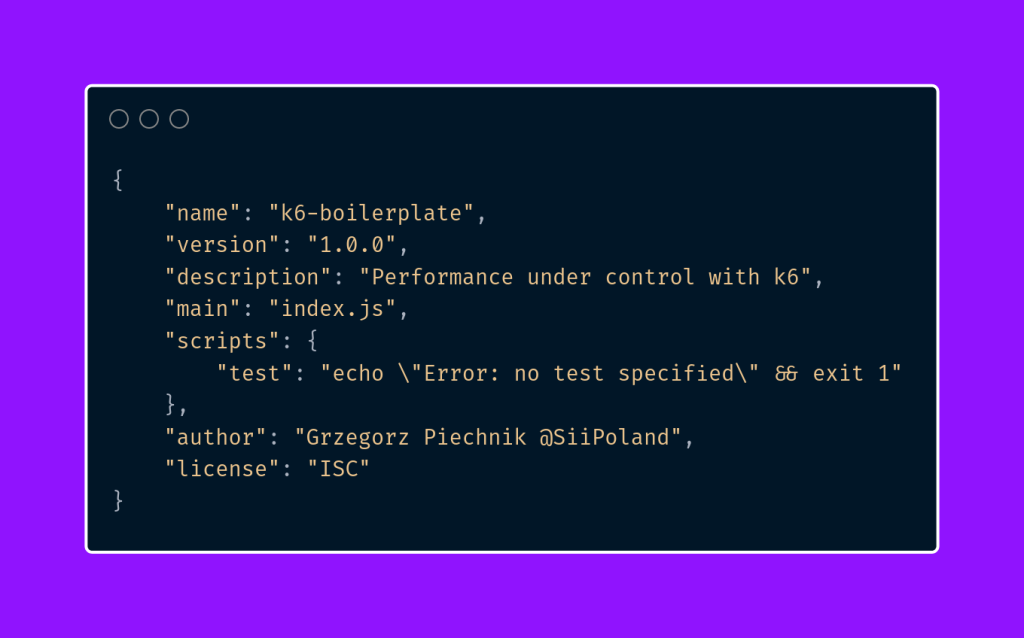
The most interesting field for us is located within the scripts object. It holds user-defined commands that serve as shortcuts for running longer commands. We will understand exactly what this means in the upcoming sections of this article.
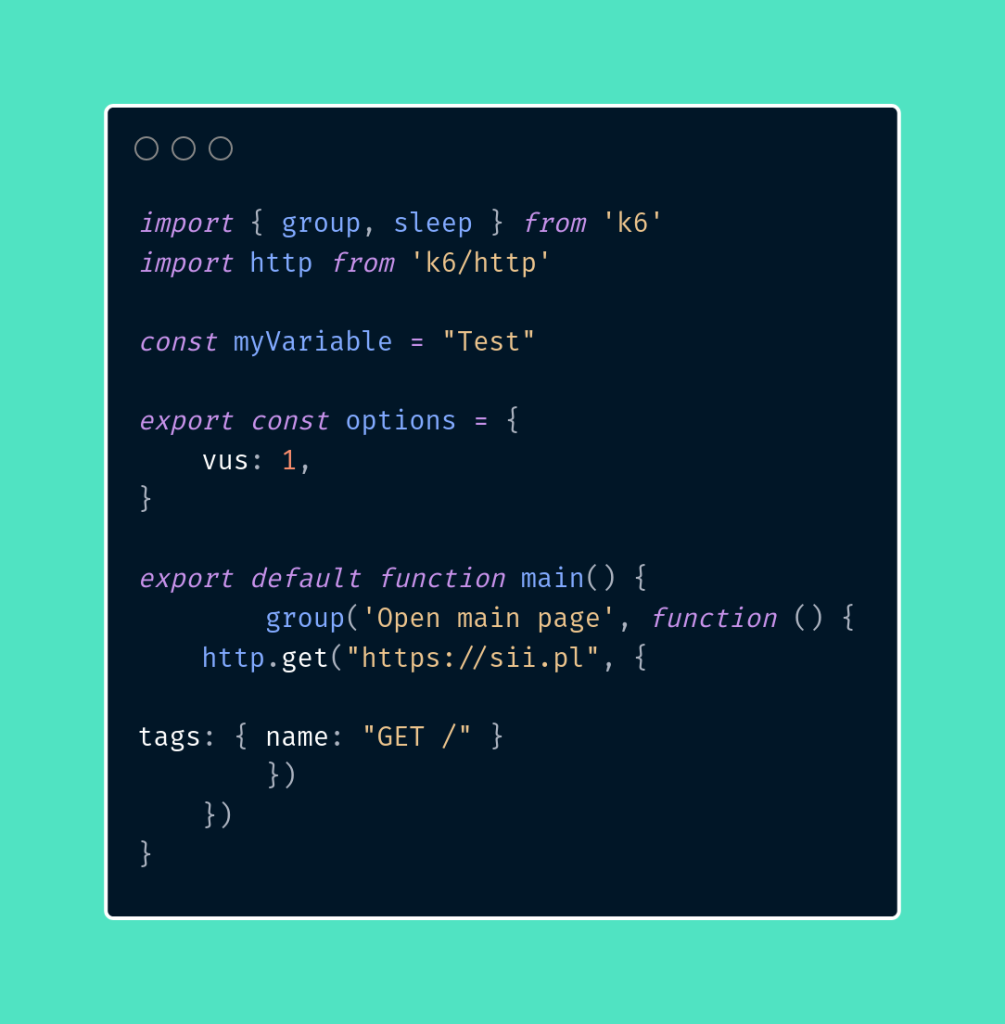
At this stage, let’s create a directory called “scripts” with an example script named scenario.js, which will contain a single HTTP request command along with a few unnecessary imports. Its chaotic structure is intentionally created.
Linter
A linter, sometimes referred to as a static code analyzer, is a developer tool used for the automatic analysis of large sets of code to detect errors, deviations from established coding standards, and potential issues related to security or performance. Its main task is to examine code for:
- missing elements,
- faulty structures,
- lack of consistency,
- and other errors.
A linter operates at a static level, which means it analyzes code without actually running it, enabling the rapid identification of potential issues before the application is executed. This allows developers to detect and address errors earlier in the program’s development, leading to improved code quality and predictability.
When writing test scenarios in k6, we use a linter to identify potential issues in our code. In simple scenarios, this could involve detecting unused objects or imports.
Now that we understand what a linter is, let’s proceed to implement it in our script. To install the tool, we’ll use the npm package manager.
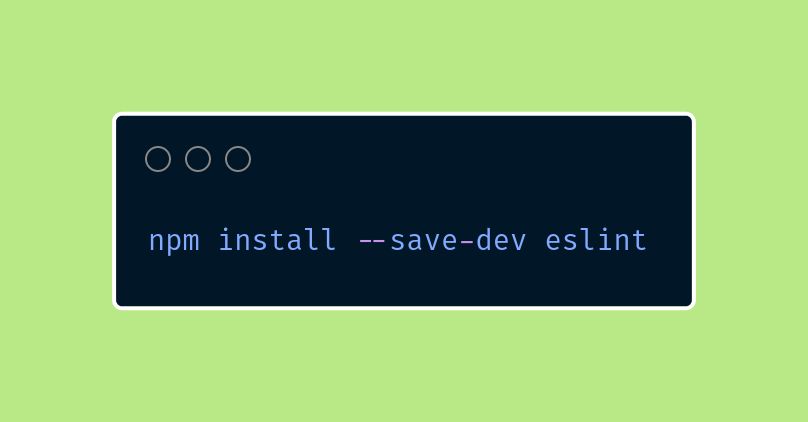
In a linter, the rules that will be applied to our script are defined using configuration files. Let’s create a file named .eslintrc.js where we will define a part of our configuration.
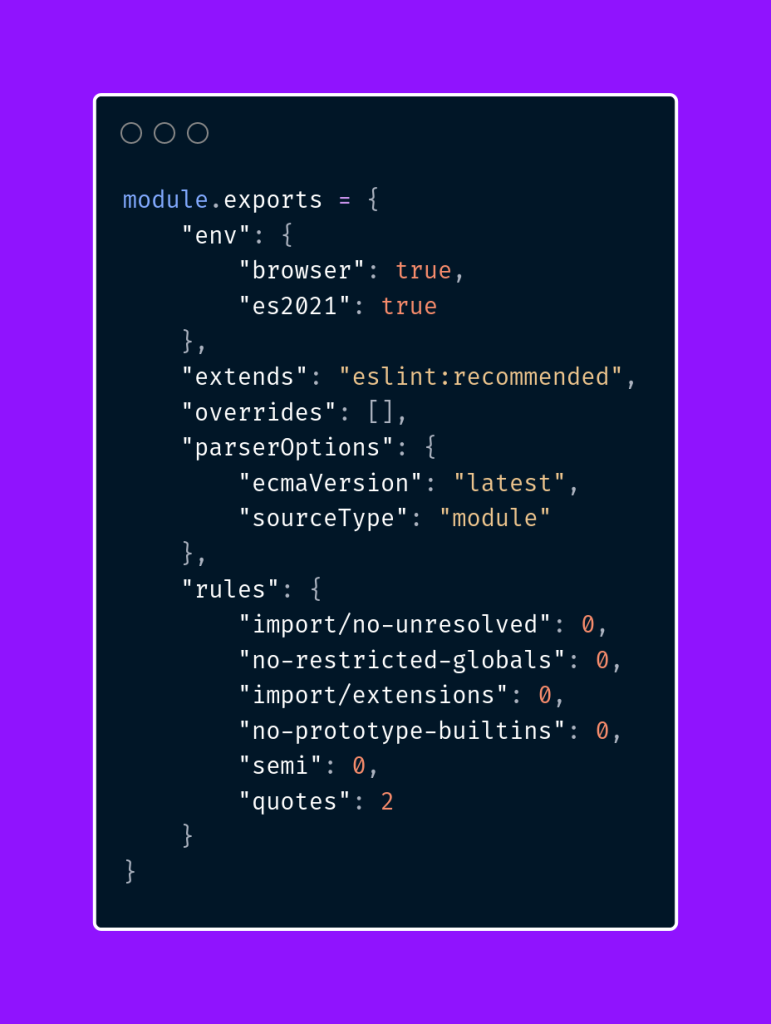
You can find a full list of options in the documentation of the tool. In the existing package.json file, let’s define two commands that will serve us to:
- Detect errors in all files in the script’s directory, where we store our test scenarios.
- Automatically fix detected errors in the specified directory.
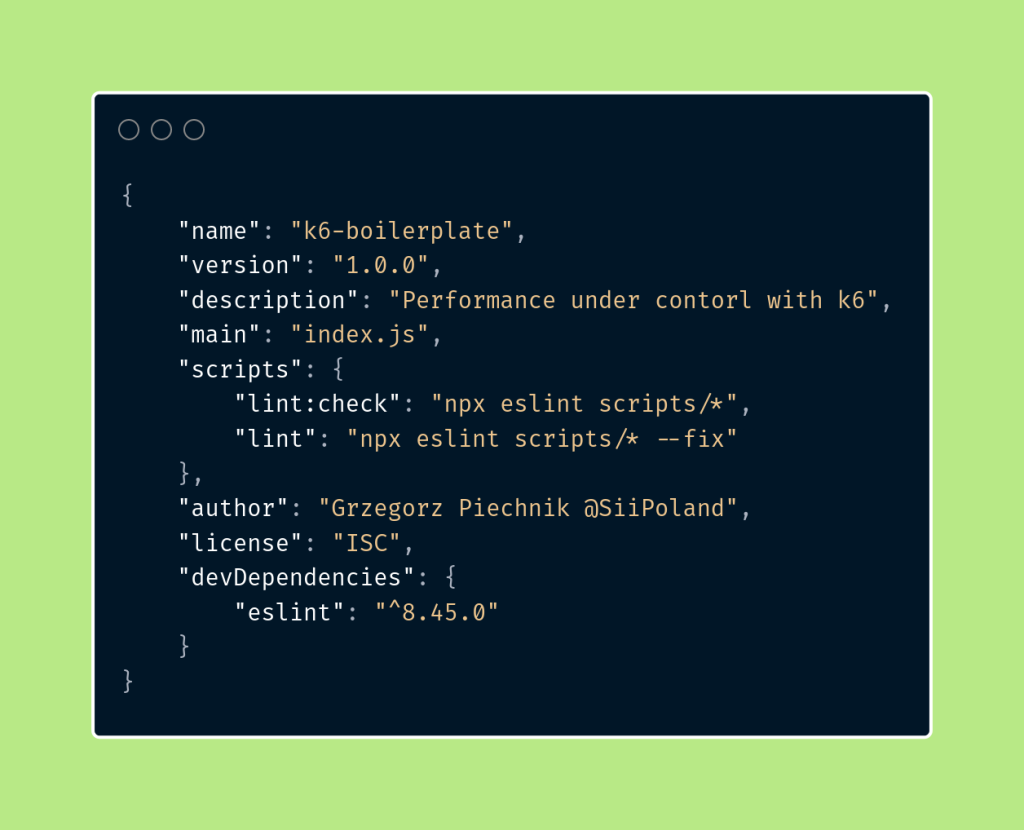
Now let’s run the first of the commands.
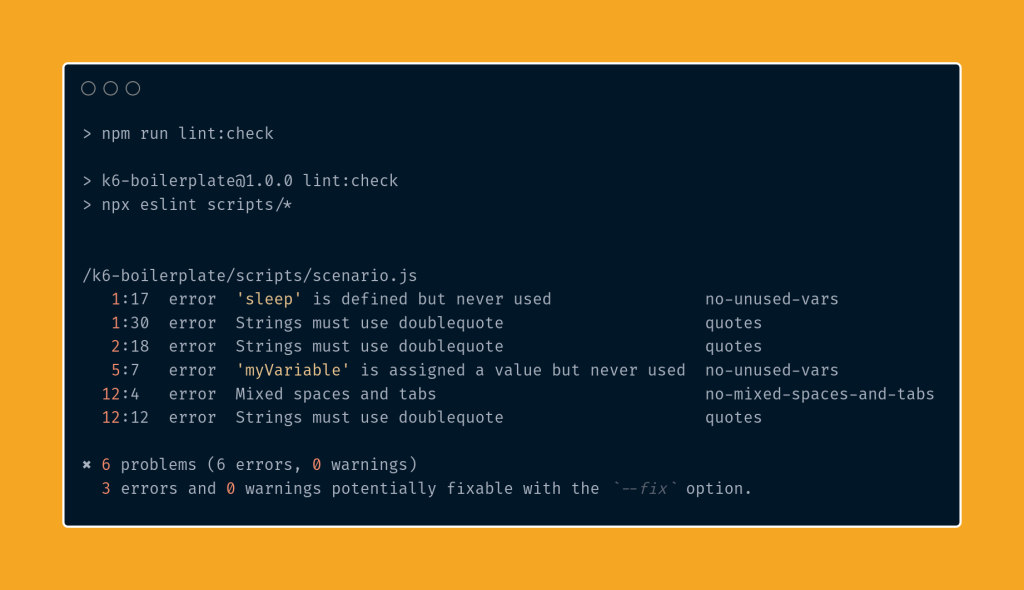
Next, let’s try running the script fix and see what changes will be made to the scripts.
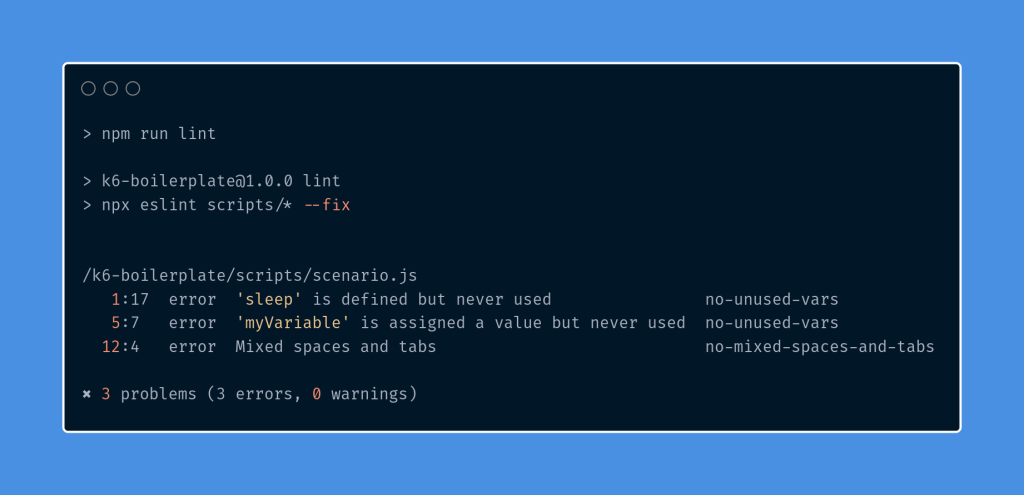
As we can see, unnecessary elements have been removed from the code. This allows us to maintain high code quality. Unfortunately, some errors will intentionally not be fixed automatically – they require manual code review by an engineer.
The linter should be set up to run by default during the process of submitting changes to the repository to ensure code consistency and correctness.
Prettier
Prettier is a code formatting tool that automatically organizes the structure of code in a specific programming language. Its main goal is to ensure consistent formatting across different parts of the code and to improve code readability and understanding.
Developers can focus on writing application logic with Prettier, and the tool will take care of the code formatting automatically. This not only enhances code readability but also saves time and effort that would otherwise be spent on manual code formatting. Prettier is a popular tool among programmers who value clean, consistent, and aesthetically pleasing code.
When writing multiple test scenarios simultaneously, Prettier finds its application in standardizing practices used by different engineers. This allows us to maintain a consistent appearance and formatting of the code throughout the project.
To install the tool, simply use the npm package manager and enter the command:
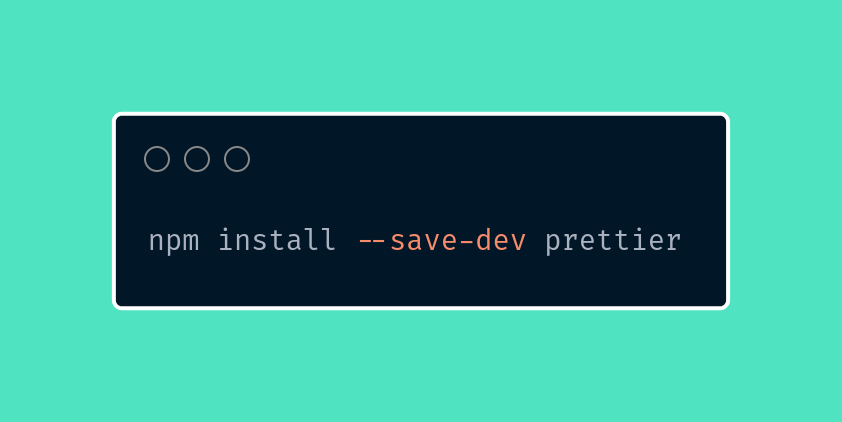
Similar to the linter, the rules for how the code should be formatted are defined in various file formats. In our case, we will use the json format for configuration. The sample content of a file named .prettierrc.json looks like this:
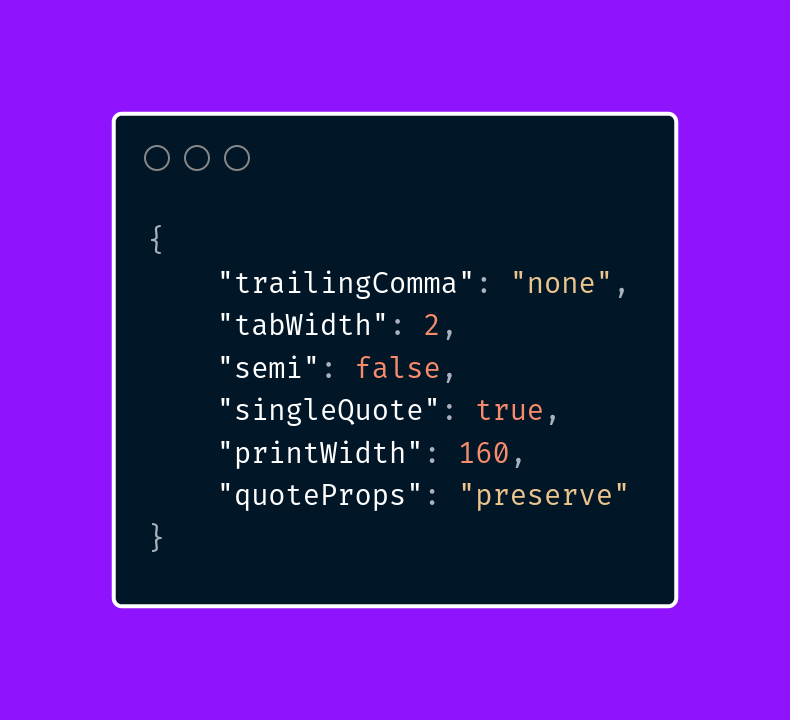
The options presented above are also the configurations that I personally use in my projects. At the same time, I highly recommend its implementation in your own frameworks.
After creating the configuration, we are ready to define two commands. The first one will be used to check the formatting, and the second one to automatically apply it.
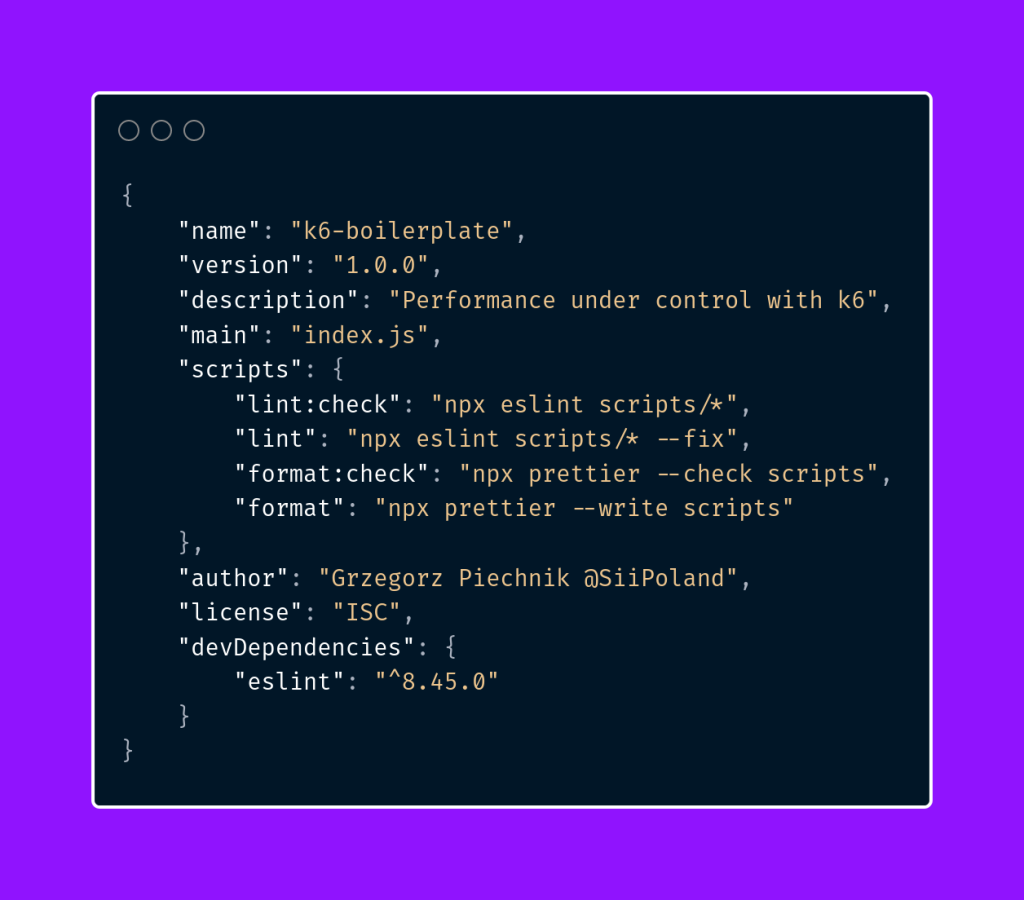
Let’s start by checking if formatting errors will be detected.
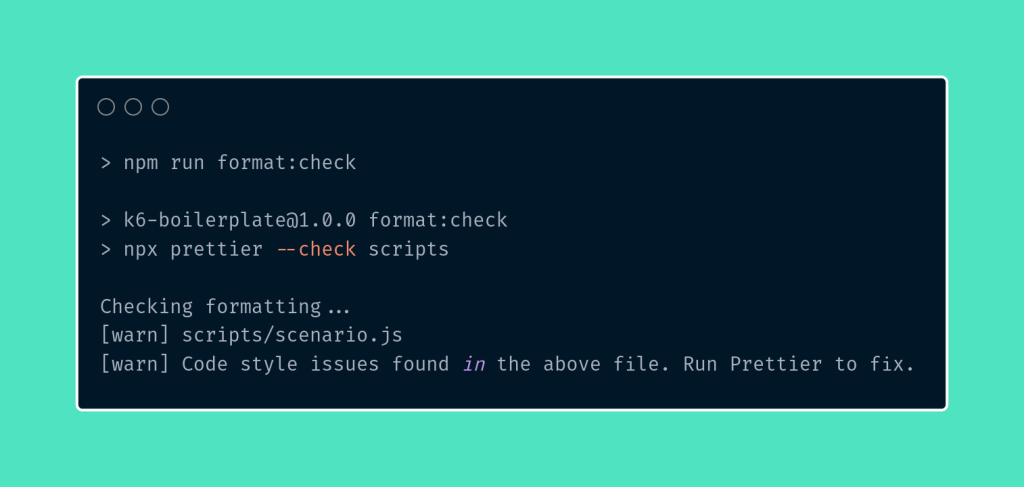
Now let’s run the automatic code formatting on the existing scenarios in the script’s directory.
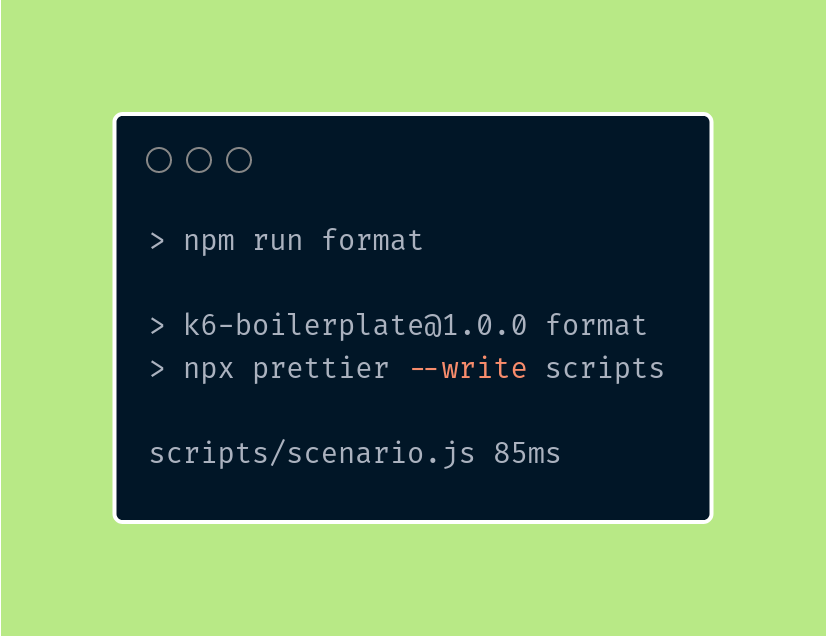
Let’s check the content of our code after formatting.
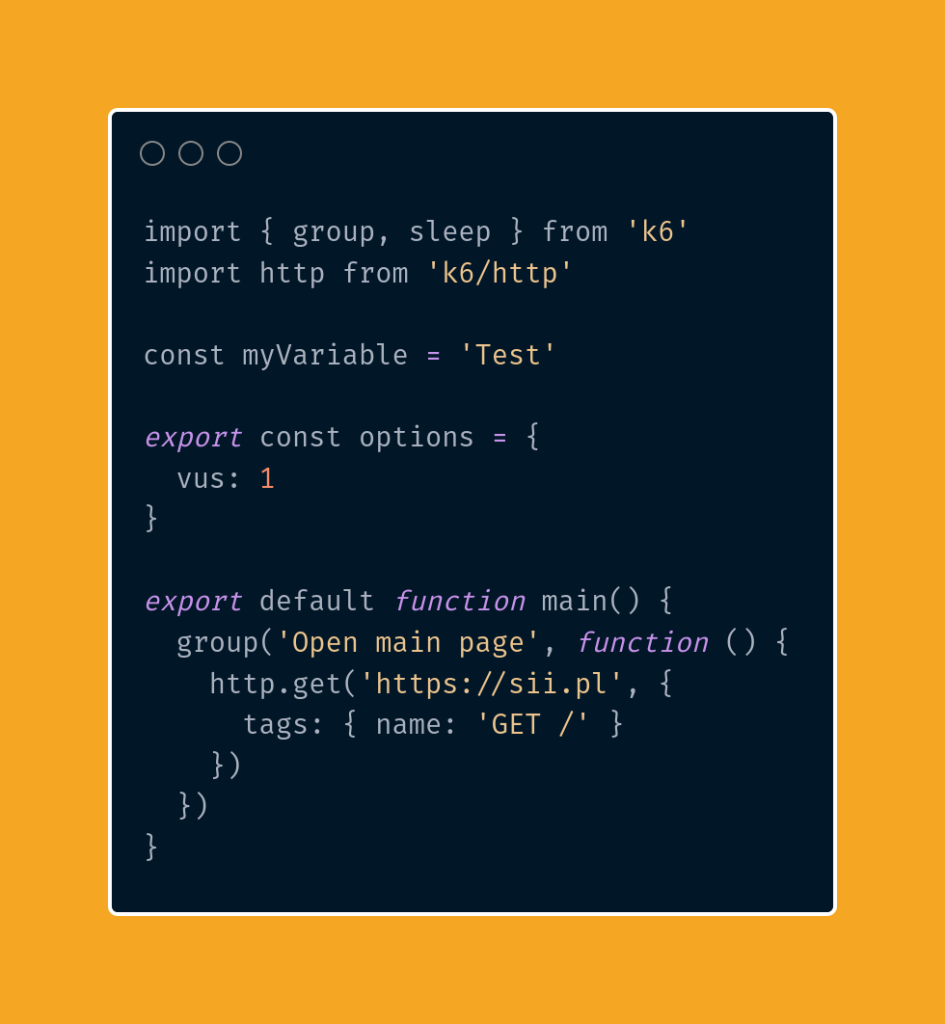
Similar to the linter, Prettier should also be run at the stage of introducing changes to the repository to ensure consistent code formatting.
Summary
In this article, we focused on the initial steps of creating a sample testing framework that enables us to monitor the performance of our applications using the k6 tool. We began by installing two key tools that greatly facilitate working with our code – the linter and Prettier. Thanks to these tools, we can avoid common syntactic and logical errors and maintain clean code formatting.
In the upcoming parts of our series, we will focus on expanding our testing framework with additional elements such as configuration files and sample test scenarios.
***
If you haven’t had a chance to read the articles in the series yet, you can find them here:
- Performance under control with k6 – introduction
- Performance under control with k6 – recording, parametrization, and running the first test scenario
- Performance under control with k6 – metrics, quality thresholds, tagging
- Performance under control with k6 – additional configurations types of scenario models and executors
In addition, I encourage you to check out the project’s Repository.


Leave a comment