As we transition from running simple test scenarios to designing more advanced frameworks, we need to consider many more factors. Well-planned configurations and a thorough understanding of the test lifecycle allow for effective implementation and scheduling.
In today’s part of the series, we will discuss configurations in k6, types of scenarios, executors, and the test lifecycle.
Test Lifecycle
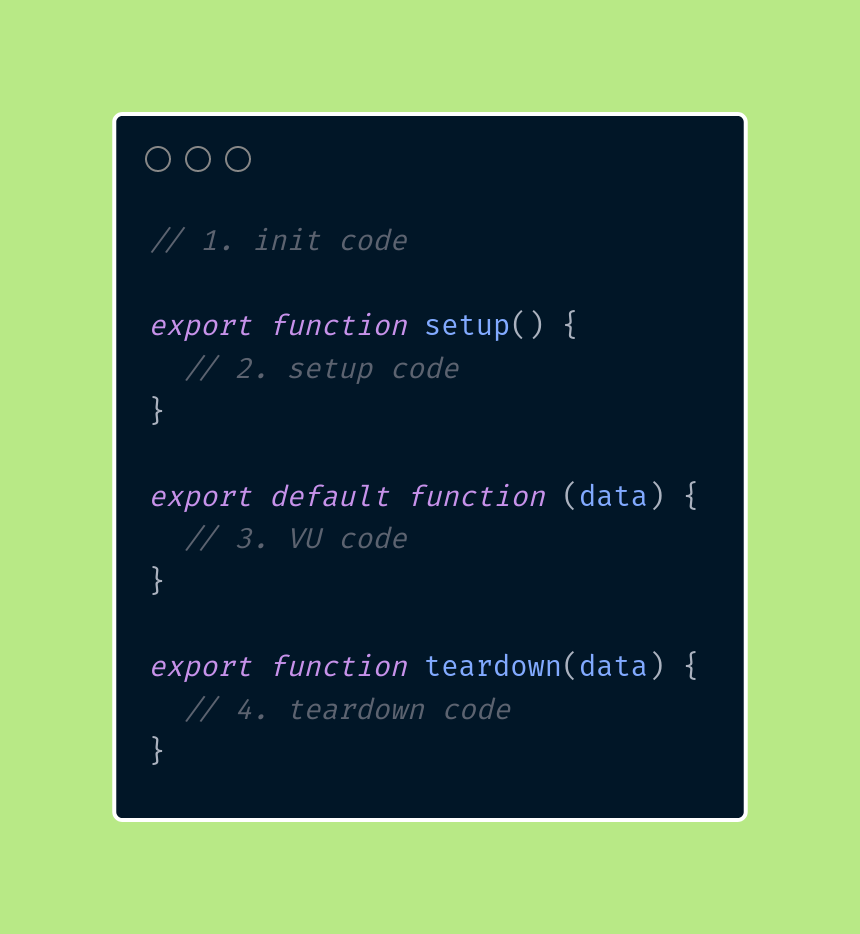
The test lifecycle in k6 is divided into four sections. These are:
- Initialization (init) – all actions that occur outside of the three main functions. It can be said that all code outside of the three main functions (discussed in the following points) belongs to the init section. The code in this section is executed first. Within the “init” cycle, we can perform operations that are necessary for preparing the testing environment. This may include loading test data from files, setting global variables, initializing a connection to a database or server, and many other tasks.
- Setup – this is a special function that holds code called between the initialization part and the actual test (the default part).
- Default – all the code responsible for performing operations by the virtual user. By design, when running a test that lasts longer than one iteration, the default function runs repeatedly compared to the init, setup, and teardown parts, which are called only once.
- Teardown – a function that runs once after the test is concluded. It serves, among other things, to generate custom reports.
One might say that the setup part is not distinct from the init part. Practically, the difference lies in the fact that the init section executes only once for each virtual user. In contrast, setup and teardown are invoked once for the entire scenario encompassing all virtual users.
The implementation of the stages looks as follows:
Configuration
Configuring options (options object) for test scenarios can be done in three ways:
- directly within the test scenario,
- by defining relevant environment variables,
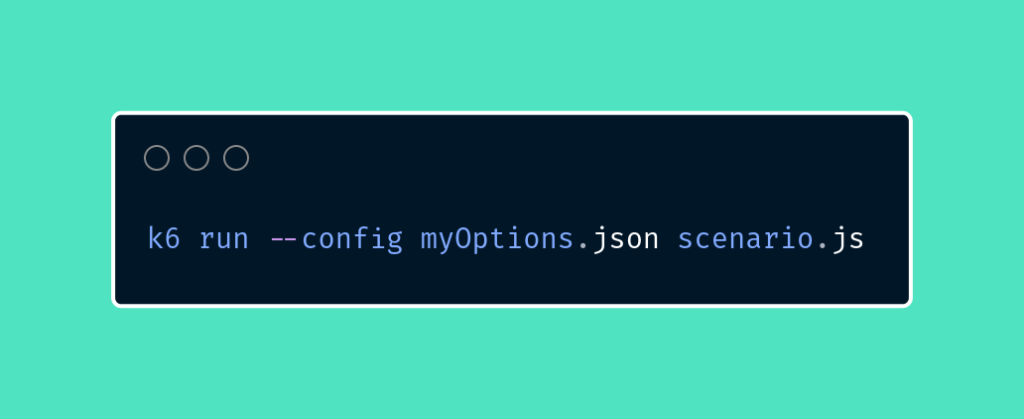
- by specifying the –config parameter with the path to a configuration file.
The first method is quite cumbersome and not very flexible, especially when dealing with multiple environments.
The second method requires us to enter many parameters each time, which can become unclear. For small and quick projects, this might suffice, but when building an entire framework, it is inefficient.
Personally, I prefer the third method. It allows me to define multiple configurations simultaneously for different environments. This way, we can tailor configurations to the actual environment state.
Let’s take a look at an example configuration in the config.json file.
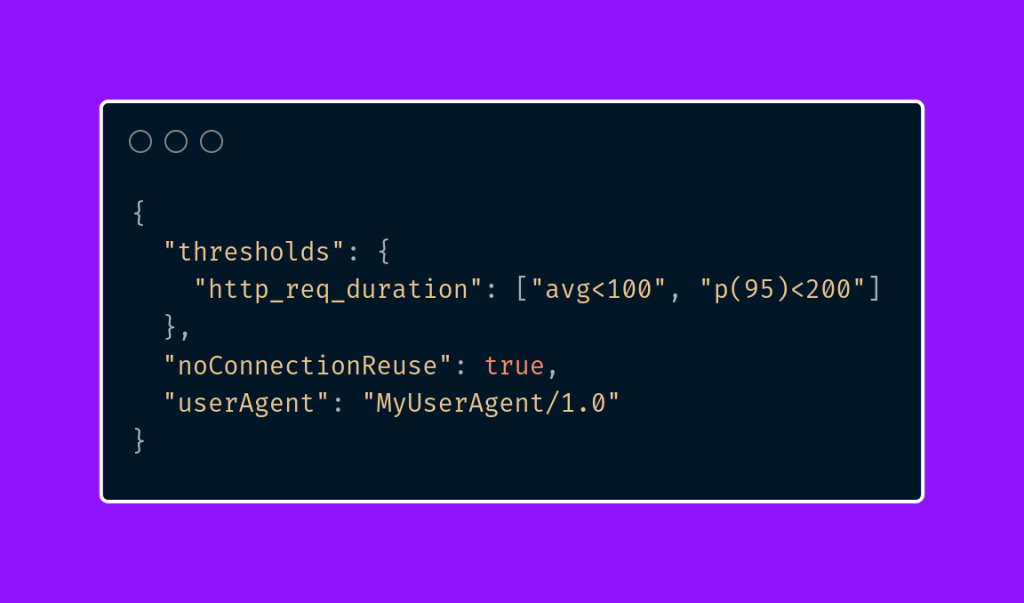
After defining the configuration, we can indicate it as the one to be used in the test.
Types of Scenario Models
Before we delve into the more complex topic of k6 configurations – executors, we need to understand the concepts of open and closed execution models thoroughly. These concepts serve as the foundation for designing executors, which control iterations and virtual users in tests.
In brief, in a closed model, iterations of virtual users (VUs) start only after the completion of the last iteration. This means that new VUs do not join the test until previous iterations are completed. On the other hand, in an open model, VUs appear independently of iteration completion. This allows new VUs to join the test at any moment without waiting for previous iterations to finish.
Both models have their applications in different testing scenarios.
The closed model is useful when we want to control the number of VUs and ensure that the test is executed with a specified number of VUs without interaction with new users. This is particularly beneficial in tests that aim to evaluate system performance with a constant number of users.
Conversely, the open model is useful in scenarios where testing scalability and the system’s ability to handle a large number of users is essential. Because new VUs can join at any time, we can observe how the system reacts to dynamically changing loads.
What drove the implementation of the open model? In the closed model, longer application response times result in longer iterations and a lower frequency of new iterations – and vice versa for faster response times. In the testing literature, this issue is known as coordinated omission. Consequently, an idea was devised to implement a mechanism that would be more independent of the application’s state.
Types of Executors
Based on the aforementioned models, k6 offers seven types of executors. As mentioned earlier, these mechanisms are responsible for manipulating the number of virtual users (VUs) and iterations. The type of executor is defined within the options object, which is already familiar to us. Depending on the chosen executor type, different configurations will be available. We won’t go through each of them here. At this stage, understanding when to use a specific executor is important.
It’s worth noting that to utilize a given executor, we first need to define it as a separate scenario in the scenario field. This field can contain several consecutive scenarios, enabling dynamic load manipulation.
Now, let’s go through each type of executor step by step, along with a code example.
Shared Iterations
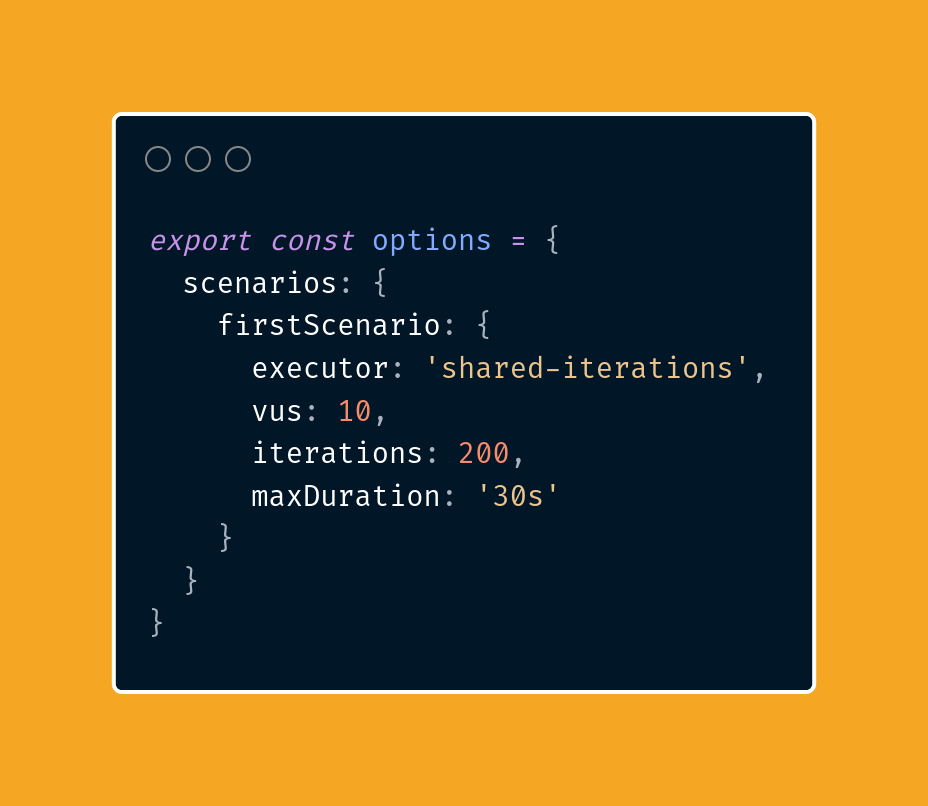
The shared iterations type is an executor that evenly distributes iterations among a specified number of VUs. This is particularly useful for regression tests, where we want to assess the impact of code changes in the application quickly and straightforwardly.
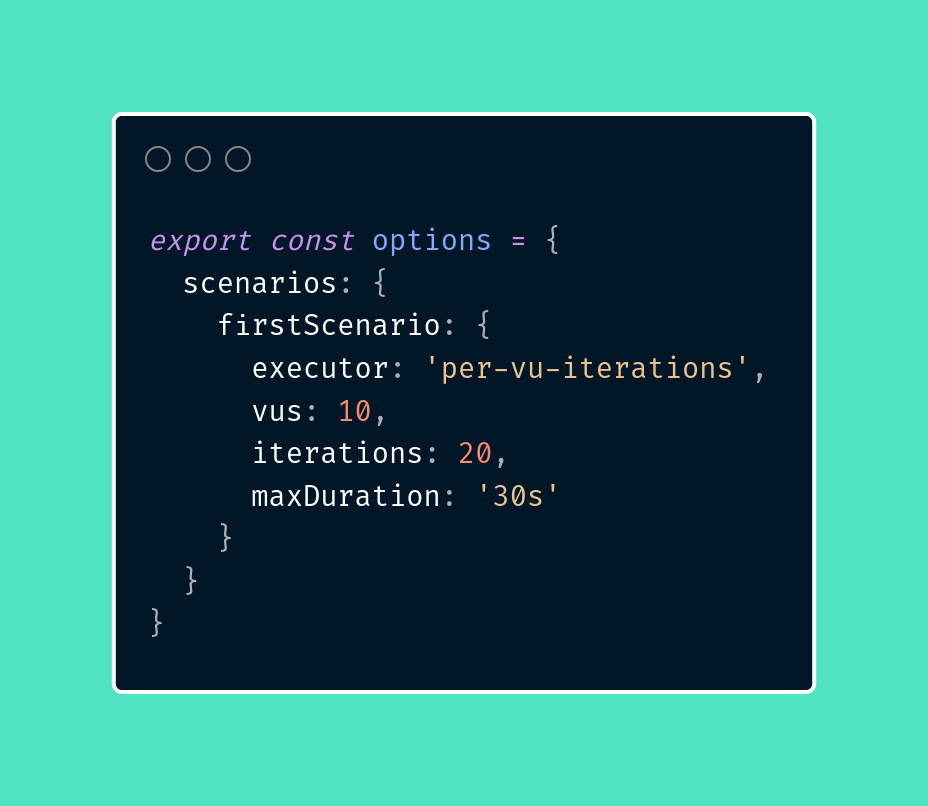
Per VU Iterations
The per-vu-iterations type is responsible for assigning each virtual user (VU) a specific number of iterations to execute. When using this executor type, if we define, for example, 10 virtual users with 30 iterations within a maximum of 30 seconds, the total number of iterations will be 300 iterations / 30 seconds, resulting in 10 iterations per second.
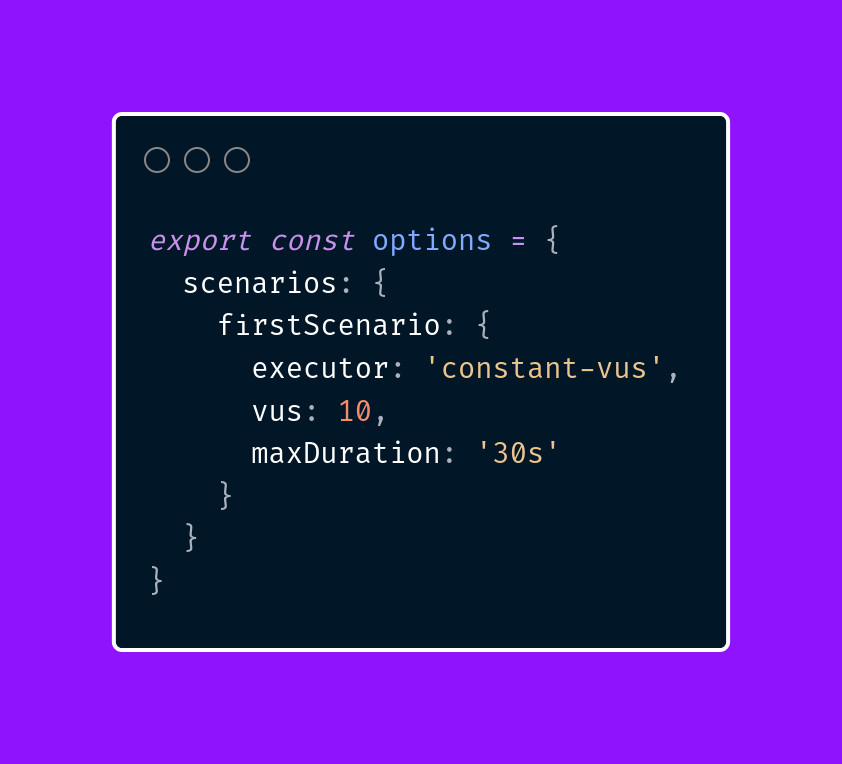
Constant VUs
Using the constant-vu option, we can specify that a certain number of virtual users should continue executing iterations indefinitely for a defined duration. This means that after completing one iteration, the next iteration immediately begins until the maximum time is defined in the maxDuration field.
Ramping VUs
The ramping-vus executor is similar to constant-vus but differs in allowing more advanced test configuration. The main distinction between them is the ability to define additional parameters that influence the test progression. Primarily, the testing is divided into stages, which we can manipulate. Additionally, we can specify the initial number of virtual users and the time after each iteration is terminated.
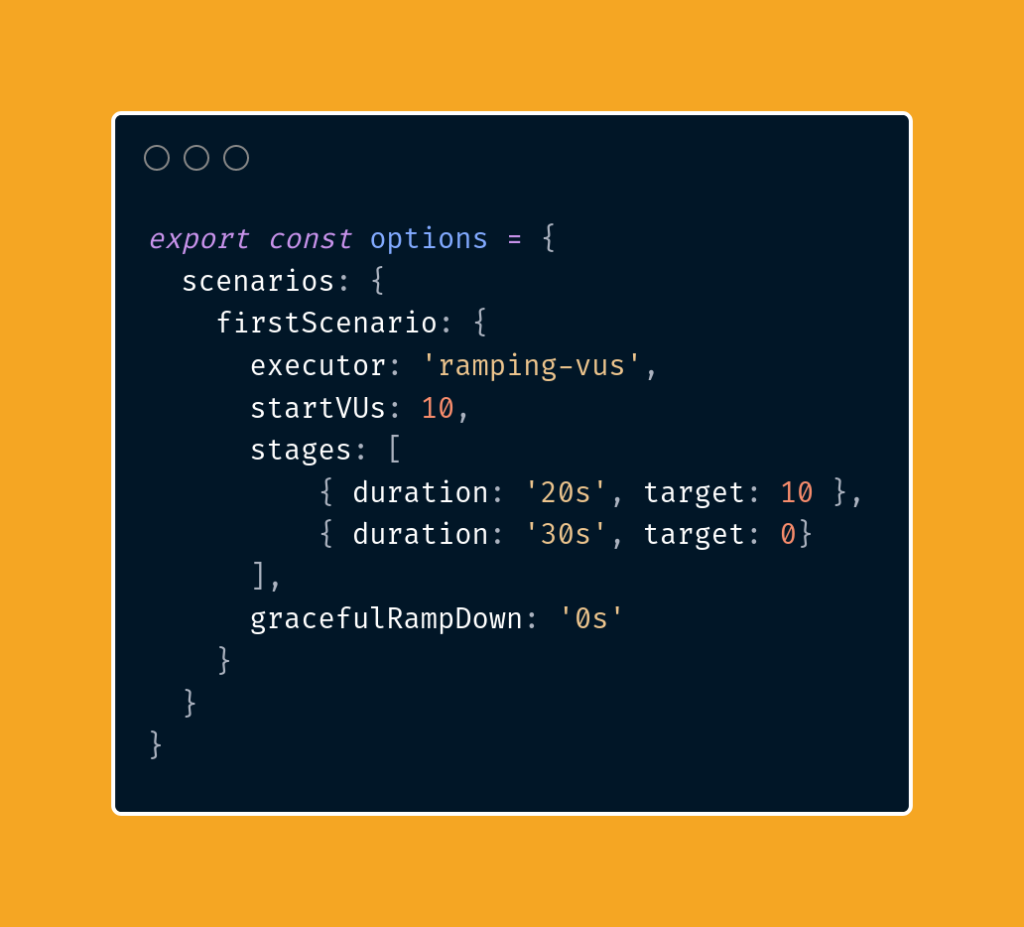
The test starts with ten concurrent virtual users, and this number is maintained for 20 seconds. Then, within 30 seconds, the number of users is decreased to zero. If any iteration is ongoing during this time, the test is terminated (due to the defined gracefulRampDown field with a value of 0).
Constant arrival rate
The constant-arrival-rate type executes a specified number of iterations within a defined time. This is an open model that operates independently of server response times. This means that in case of server response slowdowns, the load will increase.
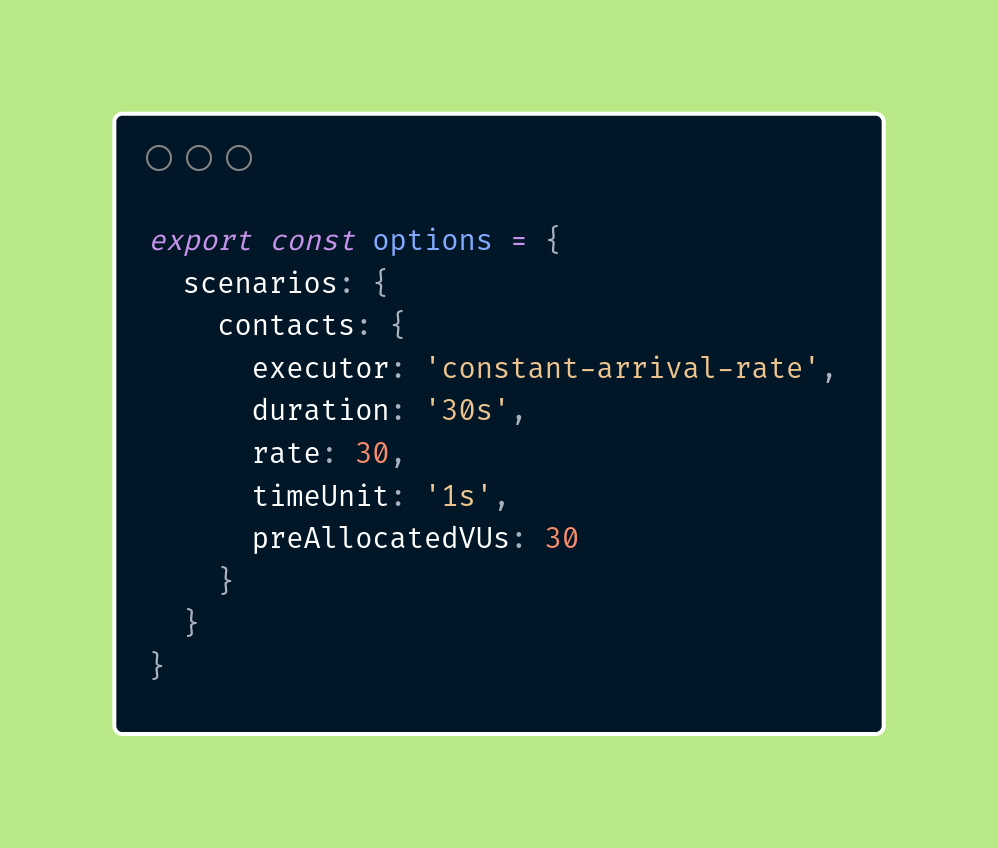
In the above case, we specified the execution of 30 iterations per second for 30 seconds. Additionally, we allocated 30 virtual users to perform the test.
Ramping Arrival Rate
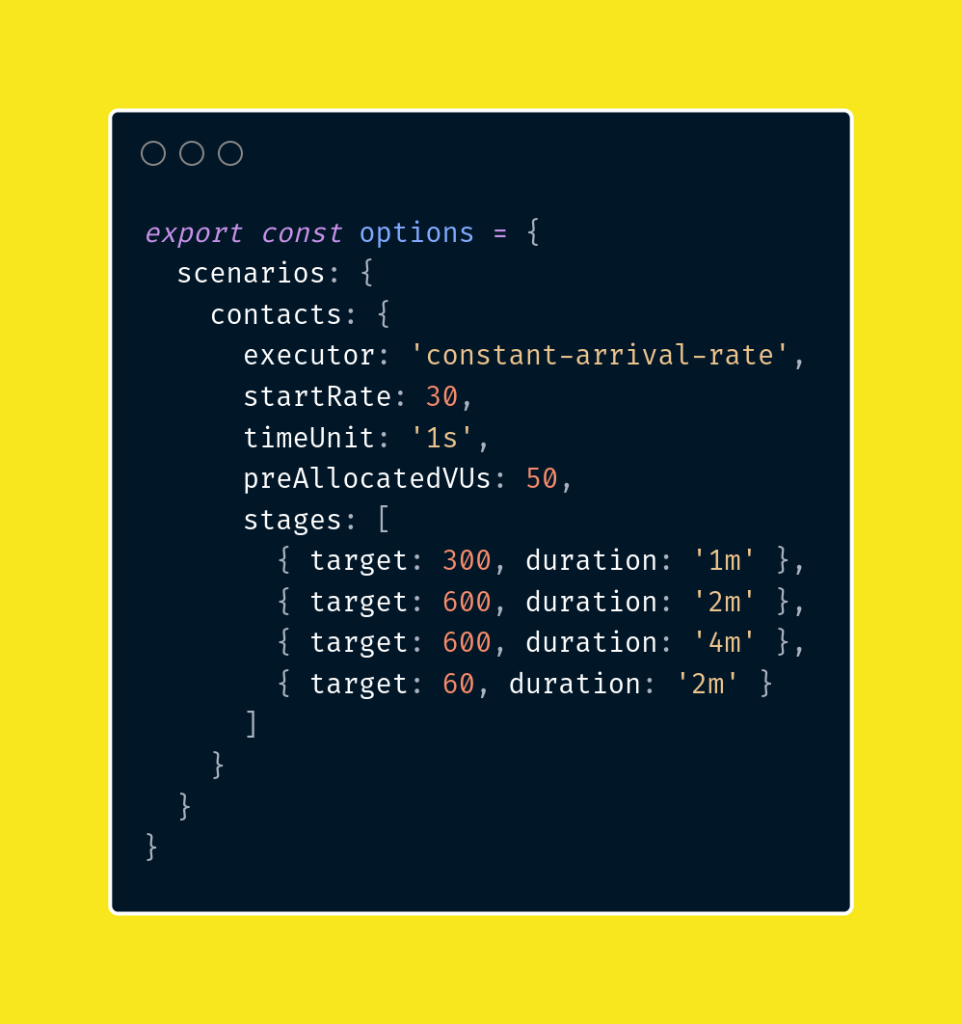
ramping-arrival-rate works similarly to the previous type, with the difference that it allows specifying multiple stages of the test.
Externally controlled
The last type of executor is externally-controlled. This controller’s main task is to dynamically manage the test’s behavior (through pause, resume, and scale commands) from the console.
Summary
In this segment, we discussed the test lifecycle in k6, and its types of executors, and touched upon configurations.
In the next part, we will focus on designing real-world examples of performance test scenarios and concentrate on creating our testing framework.
***
If you haven’t had a chance to read the articles in the series yet, you can find them here:


Leave a comment